

The Details
Simple, Fast, Accurate
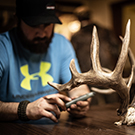
Rackulator is the only electronic big game scoring device that makes scoring your trophy simple, fast, and accurate. Through step-by-step instructions, the Rackulator uses state-of-the-art technology with its integrated rolling wheel and embedded measuring tape that makes scoring super simple. It keeps track of all your measurements and does all the complicated math for you! In fact, the Rackulator calculates the final score in any of the major scoring systems. No more getting tangled in the tape or putting nasty adhesive tape on your trophy!
Rackulator makes scoring easy & fun for everyone


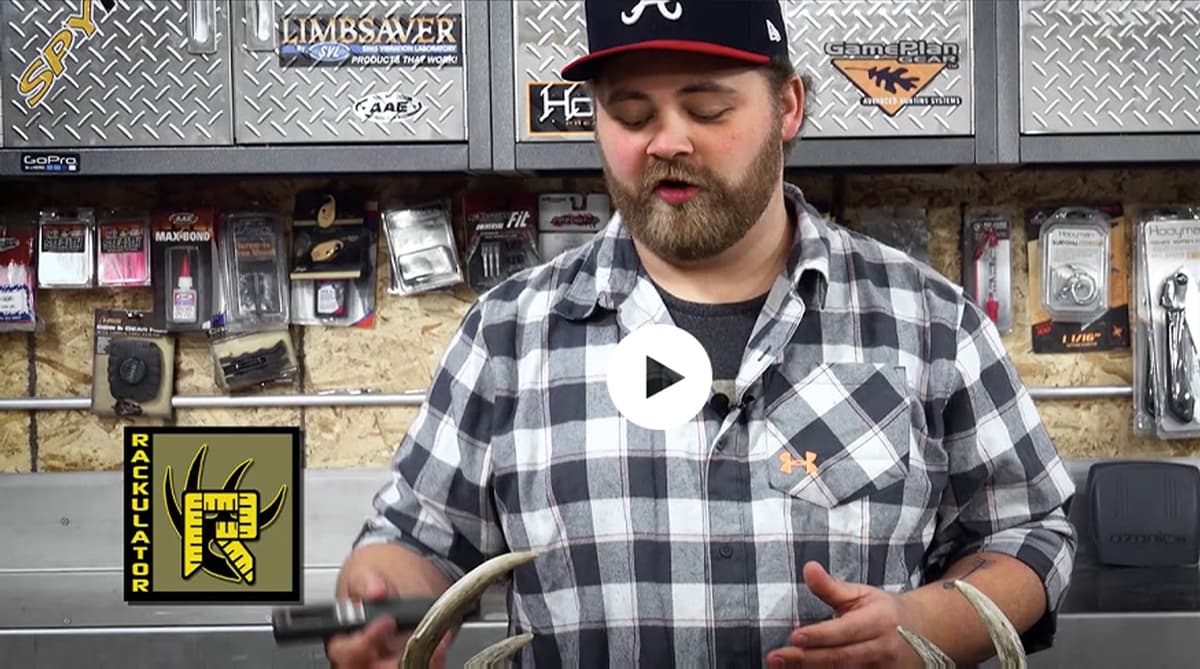
HOW TO USE A  RACKULATOR
Buy with Confidence
CUSTOMER RESULTS
Some of our greatest memories are spent with family. The Rackulator is a fun tool we enjoy using at deer camp!

It took us under 4 minutes to score this buck with a Rackulator 237 4/8. Took it to get scored officially and we were within 3/8s of an inch. The Rackulator is incredible!

As a hunting guide I have scored 100’s of deer for clients. Every year at least 5 clients will offer to buy the Rackulator off me once they see how easy it is to use!
I have scored 100's of animals and by far the easiest, fastest and most accurate way is with the Rackulator

I am the owner and operator of Turtle Farm Taxidermy. I have used the Rackulator as added feature to my customer Big game mounts since 2013. The Rackulator has been a great tool to add to my business.